QUALITY ASSURANCE
SDT bearings Quality Control Laboratory All SDT bearings production is guaranteed because it is tested twice to meet high standards: first in the factory and second time in the SDT bearings Quality Control Laboratory. We conduct all necessary tests with the latest measurement and quality-assurance systems utilizing high-quality and precise measuring equipment: Bearing Life (Longevity) /Bearing Waviness /Noise and Vibration /Radial and Axial clearance /Hardness /Geometry /Metal structure /Roundness /Roughness /Grease leakage /Dimension measurement /Spectroscopic analysis.
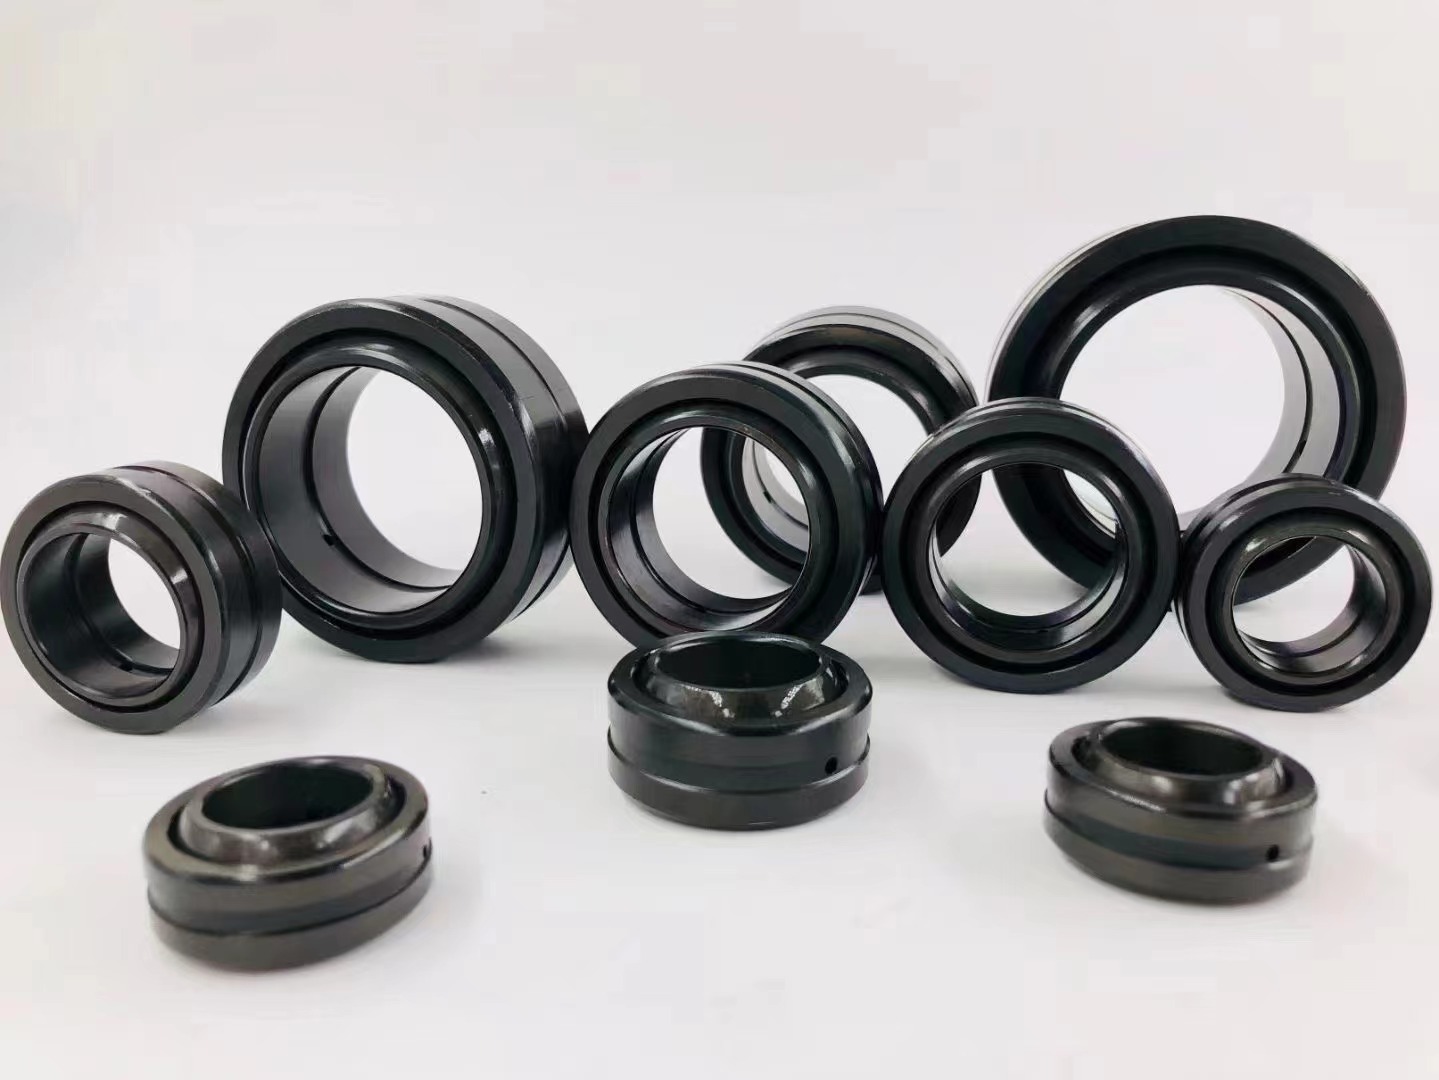 | How is bearing material hardness measured? There are several standard scales for measuring a material's hardness including Rockwell, Brinell, Vickers, and Shore. For bearings, the Rockwell scale is predominantly used. However, even within the Rockwell Hardness Test, there are several different scales used to specify the hardness of different materials. Typically, the Rockwell "C Scale" is used for measuring the hardness of bearing materials since bearings are usually made from very hard materials. |
 | Noise and vibration testing for bearings A noisy application might be caused by wavy bearing components, local defects in the rings and balls or bydirt particles in the bearing. While basic requirements for a bearing such as stiffness, load capacity, speed limit and service life play a critical role in applications, low noise and vibration are even more important. All of these quality issues for bearings can be tested with the following bearing vibration equipment: SN-X, S9912-X. Hightech analyses and measurements such as frequency analysis and further advanced analyses pinpoint faults. Spectral masks help to optimize the bearing performance in the particular customer application. With some experience, the measurement results of these machines can also be used by experts to detect imperfect manufacturing steps. The introduction of a worldwide calibration system enables vibration equipment to operate according to international standards. |
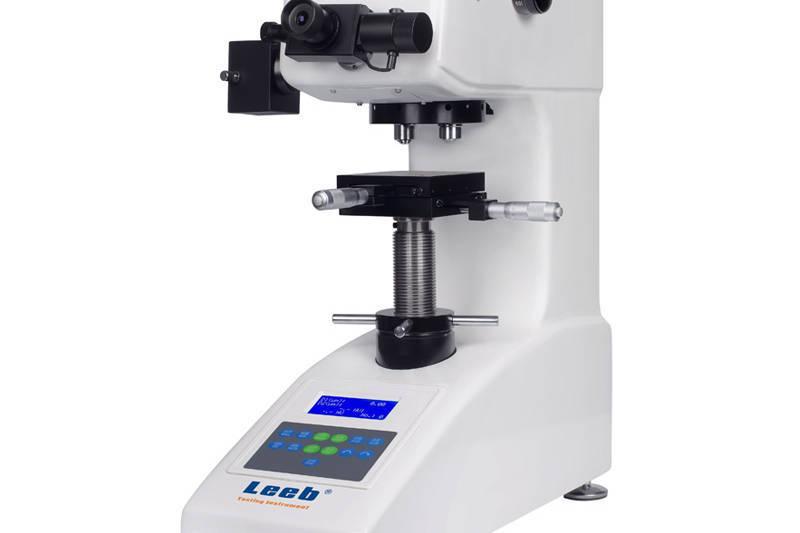 | Hardness Testing for bearings Hardness is the property of a material that enables it to resist plastic deformation, usually by penetration. Hardness is not an intrinsic material property dictated by precise definitions in terms of fundamental units of mass, length and time. A hardness property value is the result of a defined measurement procedure. The hardness test of bearing surfaces is conducted with the SHR3000 tester using the Rockwell hardness test method. The Rockwell hardness test method consists of indenting the test material with a diamond cone or a hardened steel ball indenter. The indenter is forced into the test material under a preliminary minor load of usually 150 kg. When equilibrium has been reached, an indicating device which follows the movements of the indenter and responds to changes in depth of penetration of the indenter is set to a datum position. |
 | Axial & Radial Internal Clearance testing for bearings A bearing’s internal clearance is defined as the total distance in which one bearing ring can be moved in relation to the other in the radial direction (radial internal clearance) or in the axial direction (axial internal clearance). Too little or too much internal clearance will significantly influence factors such as heat, vibration, noise and fatigue life. In extreme applications that produce high or low temperatures, this clearance needs to be considered in the overall design to compensate for thermal expansion and contraction of housings and shafts. Bearings having an internal clearance other than Normal are identified by the suffixes C1 to C5. |
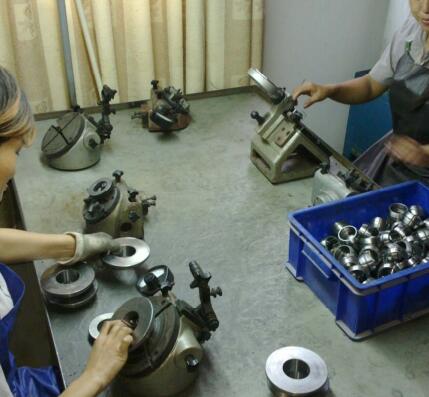
 | Materials testing for bearings rings and rolling elements There are essentially two choices for the material used in ball bearings - chrome steel or stainless steel. Since the material plays a major part in the performance of a bearing in any given application, it is very important to use the correct material. Note that the specified material applies to the load-bearing components only - the rings and the balls. The retainer and the shields, if used, are usually made from a different material and are subject to separate specifications. Chrome steel is the standard material used for ball bearing applications where load capacity is the main consideration. The machinability of this steel is excellent, giving smooth, lownoise raceway finishes together with superior life. A chrome steel material is recommended in applications where corrosion is not a factor. Stainless steel is the standard material for miniature and instrument ball bearings where corrosion resistance is more important than load capacity. These materials have evolved in response to different manufacturing and application needs. It is important to note that the actual material used is generally determined by the manufacturer and cannot be specified by the user. The bearing’s metal structure is easily determined using the analytical instrument SPECTROMAXx made in Germany. This instrument is able to monitor the carbon signal during the prespark phase and to recognize the existence and proportion of free graphite in the sample. |
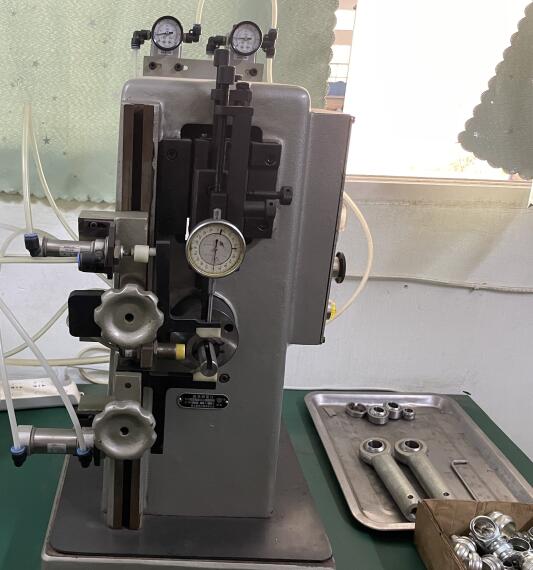
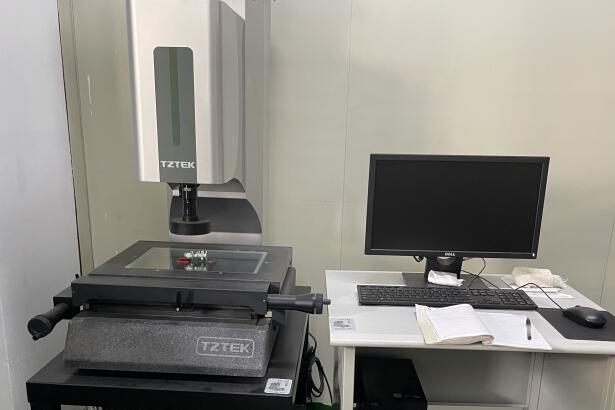
 | Dimension measuring for bearings parts The Universal Length Measurer (ULM) is a kind of length measuring instrument that integrates fine mechanics, an optical system and electrical parts into an organic whole. This instrument is used for direct measurement and comparative measurement for dimensions of parts and components. It also offers additional equipment for carrying out various special measurements.Bearing “tolerances”, or dimensional accuracy and running accuracy, are regulated by ISO standards. For dimensional accuracy, these standards prescribe the tolerances necessary when installing bearings on shafts or in housings. Running accuracy is defined as the allowable limits for bearing runout during operation. Dimensional accuracy constitutes the acceptable values for bore diameter, outer diameter, assembled bearing width and bore diameter uniformity in chamfer dimensions, allowable inner ring tapered bore deviation and shape error. Average bore diameter variation, outer diameter variation, average outer diameter unevenness as well as raceway width and height variation (for thrust bearings) are also included. Running accuracy constitutes the acceptable values for inner and outer ring radial runout and axial runout, inner ring side runout and outer ring outer diameter runout. All these dimensions of the bearing parts are measured with high-quality equipment. |
 | Bearings life and grease leakage testing Bearings are run to failure, using accelerated speeds and loads and continuous vibration monitoring. Bearing life testing confirms that any changes to components, materials or the manufacturing process will not negatively impact the bearing's characteristics.Proper lubrication is a crucial factor in maximizing bearing service life. Contamination can have a great impact on the grease service life and the bearing service life itself. Using high-quality measuring and test equipment, CRAFT bearings conducts grease-leaking and bearing-life research. |


